Ansible + AWX 安装
Why Ansible
Ansible是一个开源的Dev-ops工具,现在已经被Red Hat 收购。
包括但不限于以下用途
- 配置管理
- 应用程序部署
- 零停机滚动更新
- 多节点编排
- ad-hoc任务执行
不幸的是,Red Hat将Ansible从EPEL中移到了他们的一个存储库中,这需要您拥有Red Hat订阅交钱才能访问。
准备工作
首先需要在控制机上安装Ansible,然后通过SSH(默认情况下)与作业机(执行自动化操作的终端设备)进行通信
如果是本地CentOS安装,有这么几个可选方案
- 从Github仓库编译安装
- 通过python-pip安装
- 订阅红帽的额外仓库
- 添加第三方存储库
这里为了简单起见用的最后一种方法
这里以CentOS为例,其他环境的安装步骤可以参考官方文档
首先添加repo地址,在控制机上下载安装Ansible
1 | cat <<EOF | sudo tee /etc/yum.repos.d/ansible.repo |
安装完成后,配置文件的位置为/etc/ansible
为了更加方便的进行管理,我们还需要安装AWX
Originally, Ansible Tower was called “AWX” — see this old blog post from 2013. And apparently that was kind of a short-hand for ‘AnsibleWorks’, the original name of the company that became Ansible, that became Ansible by Red Hat. Straight from the horse’s mouth
AWX是一个开源的Web应用程序,它为Ansible提供了UI界面,REST APT和任务引擎,它是Ansible Tower的开源版本。
通过AWX,可以管理Ansible playbooks,配置列表和定时作业。
在进行安装前,软件方面首先需要满足下面的最简前置依赖条件
Ansible 版本 2.8+
Docker 近期版本,安装步骤可以参考官方文档
Docker的Python模块
这个模块和docker-py不兼容,如果之前安装过docker-py,需要卸载
Git 1.8.4+
Python 3.6+
系统方面则是要满足下列条件
- 最少4GB的内存
- 最少2个CPU核心
- 最少20GB的磁盘空间
- 运行Docker,Openshift或者Kubernetes,这里选择的是Docker
- 如果选择使用PostgreSQL,最低的版本要求为10
Ansible Quick Start
让我们在这里打断下安装AWX的步骤,先来了解下Ansible的基本概念和功能
基本概念
控制节点(Control node)
在控制节点上安装有Ansible,需要安装Python,不支持Windows,可以有多个控制节点
受控节点(Managed nodes)
使用Ansible控制的终端设备,也被称为主机(hosts),不需要安装Ansible
清单(Inventory)
列出受控节点的配置文件列表,比如IP地址和域名
模块(Modules)
Ansible执行的代码单元,每一个模块有特定的用途,你可以在Task中单独调用某个模块,也可以在Playbooks中调用多个不同的模块
任务(Tasks)
Ansible的动作单元
任务列表(Playbooks)
对于Tasks的有序列表
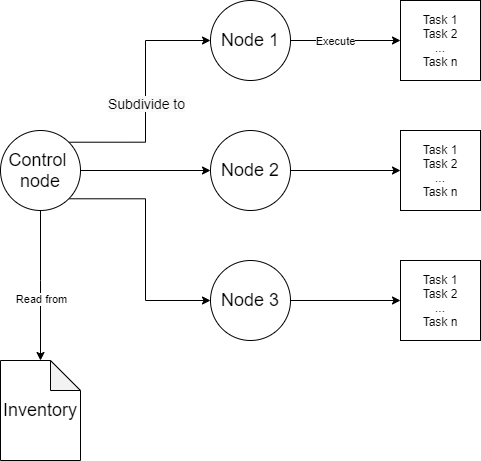
为了能在远程终端上执行命令,我们需要先知道IP地址,一个比较常见的做法是从inventory中读取配置文件,这样可以更加方便和灵活(虽然也可以简单粗暴的将IP地址传入到ad-hoc命令里)
首先,我们在Inventory配置文件(/etc/ansible/hosts)中加入Managed Node的信息,可以用ip地址或者域名来表示
1 | 10.1.1.1 |
Ansible是通过SSH和Managed Node进行通信的,默认情况下,会用本机的OpenSSH以当前用户名进行连接。
这里需要先在机器间设置SSH互信
以10.1.1.1的机器为例
1 | ssh-keygen -t rsa |
然后运行Ping命令
1 | ansible all -m ping |
假如之前没有正确设置SSH互信的话,就会返回错误信息
1 | ansible all -m ping |
经典命令hello world
1 | ansible all -a "/bin/echo hello" |
这样我们就完成了一个简单的ad-hoc的任务分发了
我们来简单解释下上面用到的参数
ansible all -m ping
-m MODULE_NAME, –module-name MODULE_NAME
module name to execute (default=command)
ansible all -a "/bin/echo hello"
-a MODULE_ARGS, –args MODULE_ARGS
也可以简单的指定某台机器作为Managed Node
1 | ansible 10.1.2.3 -a "/bin/echo hello" |
更加深入的学习可以参照User Guide,这里就不赘述了
使用Docker-compose 安装 AWX
前提条件
- Docker已经安装完毕,服务正常运行
- docker-compose Python模块
- Docker Compose
首先从github上把代码拉下来,切换到对应的版本分支下
1 | git clone -b 11.2.0 https://github.com/ansible/awx.git |
安装前的准备
部署到远程主机(可选)
默认情况下,installer/inventory的配置文件会把AWX部署到本地主机,但是也可以将其部署到远程主机。
installer/install.yml的playbook可以用来在本地编译镜像,将构建好的镜像传输并部署到远程机器
要做到这点非常简单,只要修改insatll/invetory中,注释掉localhost并且添加远程服务器
1 | localhost ansible_connection=local ansible_python_interpreter="/usr/bin/env python3" |
这里我们就不修改了,选择把AWX部署到本地
这里可以简单看下安装使用到的playbook配置文件installer/install.yml
1 |
|
这几个步骤对应的文件结构如下
1 | tree -L 3 |
Inventory variables
在开始前,我们需要先检查一遍installer/inventory中的配置项
postgres_data_dir
AWX的安装需要依赖PostgreSQL,默认情况下,会在容器内创建一个数据库,并且把数据文件保存在宿主机中。
这种情况下,必须将postgres_data_dir设置为可以安装容器的路径
如果想使用外部的数据库,那么在installer/inventory中,将pg_hostname取消注释,修改连接信息
pg_usernamepg_passwordpg_admin_passwordpg_databasepg_port
host_port
这个端口配置的是AWX容器映射到外部WEB服务上的端口,默认是80,如果是未定义的值,那么就不会暴露端口
这里随便设置了一个值:host_port=10080
host_port_ssl
提供一个端口号以支持SSL协议,如果是未定义的值,那么不会暴露端口,只有同时也设置了ssl_certificate时才有效
ssl_certificate
可选项,提供包含证书和私钥的文件,需要时一个.pem文件
以上两个设置我都用的默认值,没有修改
docker_compose_dir
使用docker-compose的文件夹位置
custom_venv_dir
从本地主机添加的自定义python venv环境,以便在安装时传递到容器中
这里为了在本地构建镜像,做了如下设置
1 | docker_registry=172.30.1.1:5000 |
这样构建镜像时,默认就是以developer用户推送到awx的仓库中
关于带来相关的配置
http_proxy, https_proxy, no_proxy保持默认值不修改
完整的配置文件如下
1 | localhost ansible_connection=local ansible_python_interpreter="/usr/bin/env python3" |
进行安装
1 | cd installer/ |
安装可能需要较长的一段时间
安装后
安装后需要执行数据库的迁移,可以查看到日志
1 | docker logs -f awx_task |
如果安装后无法联通brdige模式的docker network,请检查是否存在冲突
可以参考此PR进行修改,docker_compose_subnet配置项填入一个不会冲突的本地ip地址,如192.168.1.5/24
你可能需要先删除对应的 docker network
1 | docker network rm awxcompose_default |
迁移完成后,可以在对应端口打开awx web界面
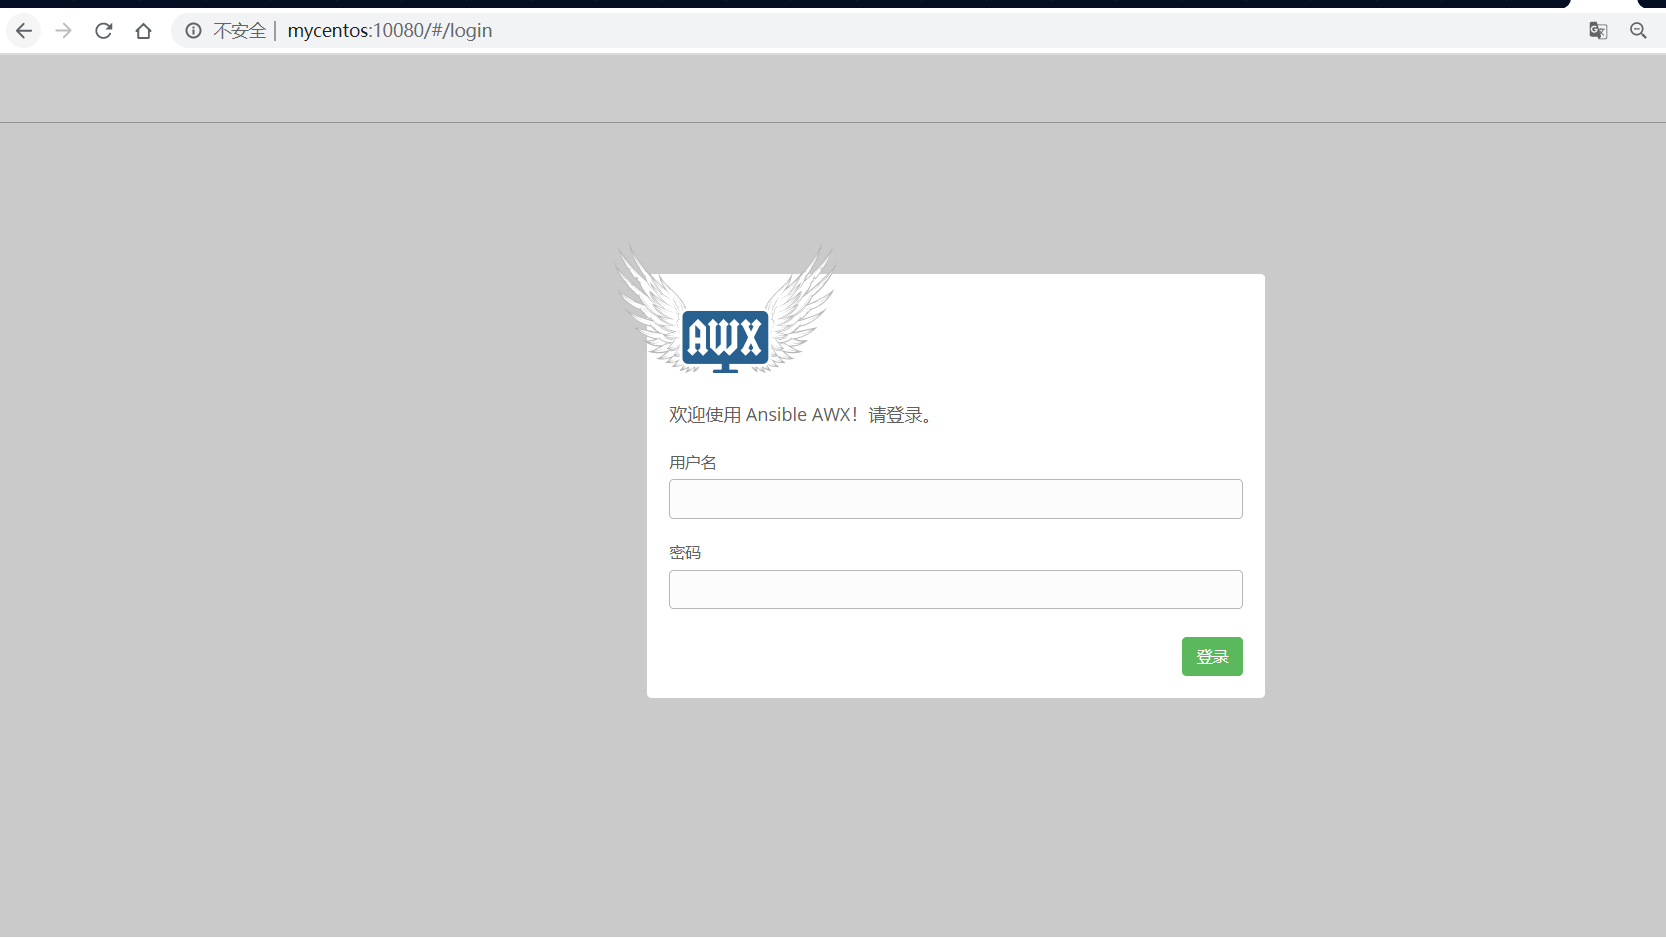
这里需要输入的密码就是之前在inventory中配置的admin_user和admin_password
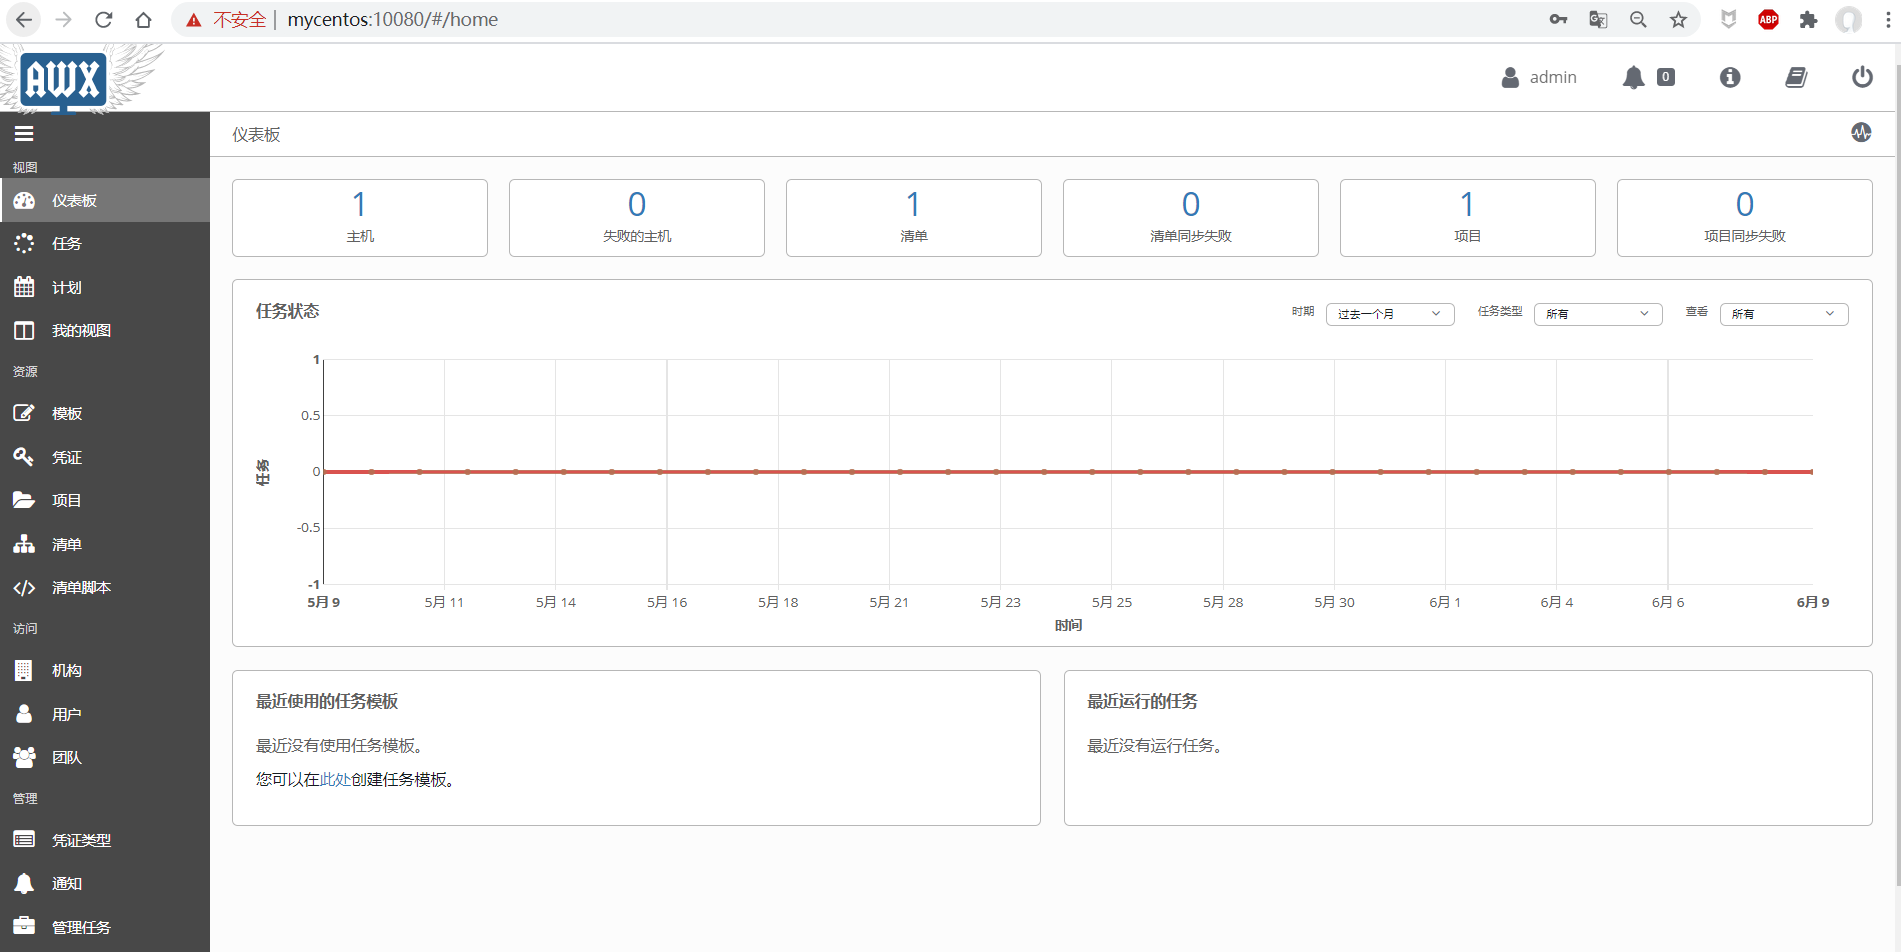
主界面一览
相关文章
Ansible playbook 批量部署 node-exporters 服务
参考链接
- ansible 文档
- Github: ansible
- Gihub: awx
- awx issue: How do I change the IP addresses and three subnets that get created for the docker containers
- awx pull request: Add subnet configuration to Docker Compose to avoid conflicts.
- RedHat: A system administrator’s guide to getting started with Ansible - FAST!
- Ansible not available in epel repo installed on RH 7
版权声明:
除另有声明外,本博客文章均采用 知识共享(Creative Commons) 署名-非商业性使用-相同方式共享 3.0 中国大陆许可协议 进行许可。
分享